This application helps you to design, create and store particles for games created with Felgo and Cocos2D.
| Genre |
Particles
|
| Complexity |
Advanced |
| Project Location |
<Path to your Felgo SDK>/Examples/Felgo/demos/ParticleEditor/ParticleEditor.pro |
To run this demo, open the .pro file with Qt Creator. This demo is also available for quick testing with the Felgo Sample Launcher
|
| Published |
iOS, Android, Windows, Mac
|
Description
The Felgo Particle Editor helps to create and modify particle effects that are usable in Felgo games on all platforms. The particle properties can be changed at runtime to see the changes immediately, even on mobile devices.
You can thus use this demo for testing the performance of different particle effects and tweak them so they still look good while getting the maximum performance out of it.
The Particle Editor is a development tool. Felgo developers can build the editor on their own and add their own effects and textures for testing the look and performance of the particles on desktops and mobile devices. A
presentation video is available on YouTube here. The editor is available on different platforms and can be downloaded here.
Used Felgo Features
-
ItemEditor: Balance any particle property at runtime to see the effect immediately.
-
LevelEditor: Create your own levels in the game and share them with others.
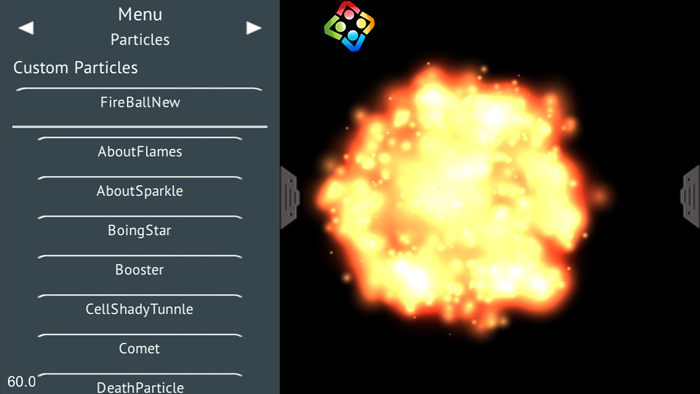
Particle Editor Features
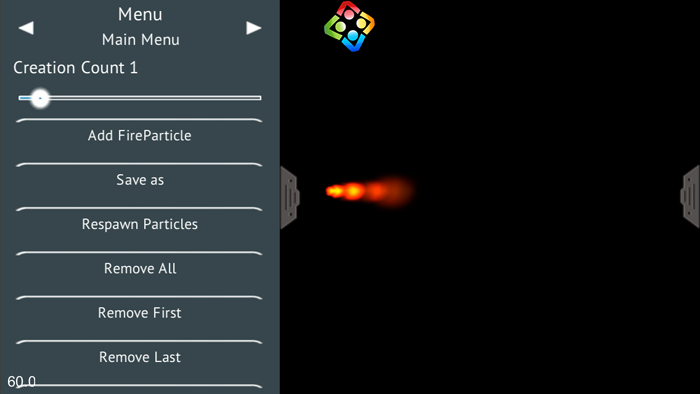
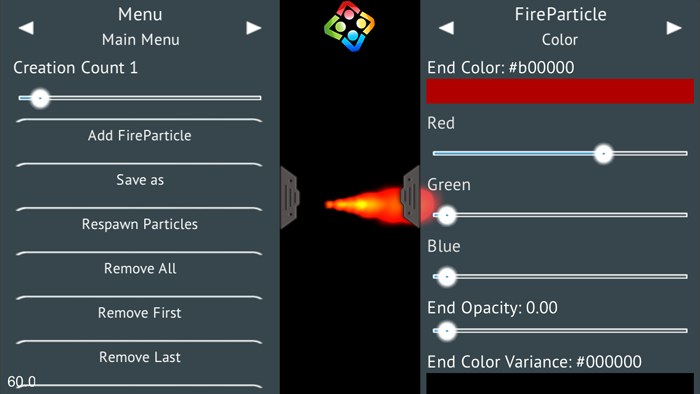
The editor consists of two different menus and the working scene where all particles are placed. You can open the left and right menus by sliding the pullup button to the middle of the screen, or simply by clicking on them.
On start-up a single fire particle is spawned automatically. The more particles on stage the more fun! But be aware of the performance! If you like to switch the active particle in the right Properties Menu, just click
on the particle you like and it will change immediately.
The left menu consists of two parts:
- The Particle Main Menu is used to create, delete and respawn the selected particle type.
- The Particle List Menu is used to switch between the different particle effects available in the editor.
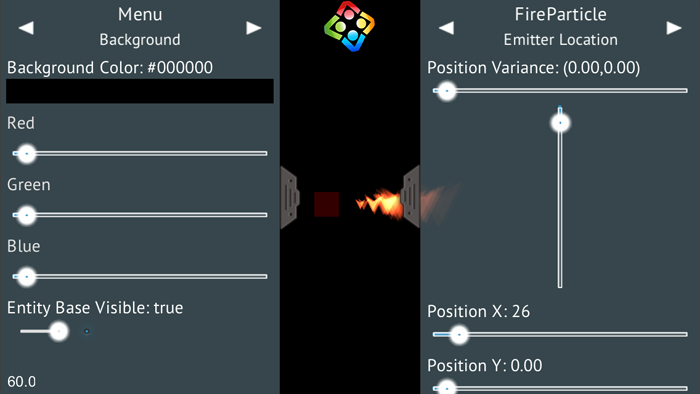
The right menu is the Properties Menu, which display all particle emitter properties which can be edited by the user. A detailed description for each property group can be found in section Detailed Description of the Editor. You can reset each property value by double-clicking on a slider, if you want to revert your changes.
The particle effects in the scene can be dragged around to position them anywhere on the scene. By default, new effects are created at a random position.

Particle Performance
Particles are very performance sensitive especially on mobile devices and thus need special treatment. There are multiple very important properties of a particle which influence the particle performance the most. These
properties are highlighted with red color in the Particle Editor and explained in the following list:
-
Particle::maxParticles - This is the most critical property. The more particles are used for a particle effect the better it might look but the worse the performance.
Therefore, an optimal particle count should be encountered. Most effects look good between 30 and 60 particles. But this highly depends on the particle texture. You can try to make the colors darker to simulate a higher
particle count for better performance.
-
Particle::particleLifespan - The time how long a particle lasts.
-
Particle::emissionRate - The rate at which particles get emitted during their particleLifespan. By default, this gets set to
maxParticles / particleLifespan.
You usually do not need to set this property, instead modify maxParticles and particleLifespan!
-
Particle::speed - The movement speed of the particle is a crucial factor for the visual smoothness.
-
Particle::startParticleSize and Particle::finishParticleSize - The size of particles can have a great
influence on the performance. The smaller the size the better the performance, but this also depends on the used texture.
-
Particle::textureFileName - The size of the particle texture and the used alpha channels are also important. The performance increases with smaller textures and no
alpha channel. Therefore the texture should be as small as possible.
The Particle Editor can be used for performance measurements of a single type of the same particle with an arbitrary amount of them. It can also be used with mixed particle types for testing real-world scenarios that occur
in games. Usually, you will test the performance of a single type though, and test the performance impact immediately when changing property values. So you can guarantee each effect individually performs well. You can switch
between textures with different sizes to see which one still looks good but is small enough to achieve good performance.
It is important to close the menus (by moving them to the side) for performance testing, because there are a lot of GUI elements on the scene which could invalidate the performance results and drop the performance.
Furthermore you should never measure the performance while changing a value with a slider as that also has a performance impact.
The particle texture file stated in Particle::textureFileName is performance critical and well suited sizes are 4x4, 8x8, 16x16, 32x32 dependent on the usage of the
particle. See Add New Particle Effects how to add new textures to the editor.
Howtos
Add New Particle Effects
You can change any of the presets and save the particle afterwards as new particle file with the Save as button.
Add New Textures
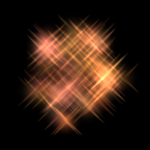
Textures give the particles a visual appearance. It is important to create usable textures which do not affect the performance badly. As described above in the chapter about Particle Performance, the textures in the editor use a texture size of 4x4, 8x8, 16x16, 32x32 pixels with or without alpha channels. The best texture
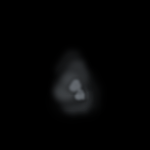
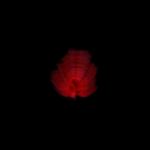
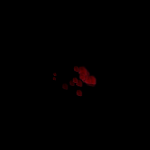
size highly depends on the type the particle should represent. The following blood particle for example looks best with 16x16 or 32x32 textures. Smaller size will decrease the detail too much, so it can't be used anymore.
| Particle Sizes |
| 4x4 |

|
| 8x8 |

|
| 16x16 |

|
| 32x32 |

|
You can easily test if a texture is suitable, by adding it to the particle editor and test it directly on the particle effects.
Add the textures in .png format to the Examples/Felgo SDK/ParticleExamples/qml/particles/ folder.
Afterwards the texture will appear in the Appearance Menu and can be assigned to the selected particle type.
Save Particle Data
You can change any of the presets and save the particle afterwards as a new particle file with the Save as button. Moreover, when you click on a particle the values of the particle properties will be logged to console
and can be copied into a JSON file to load a new particle with.
The particle files will be saved to a particles subdirectory in the documents directory. These are the directories for each supported platform:
| Platform |
DocumentsLocation |
| Linux |
/home/<Username>/Particle Editor for Cocos2d and Felgo/particles |
| Windows |
C:\Users\<Username>\Documents\Particle Editor for Cocos2d and Felgo\particles |
| macOS |
/Users/<Username>/Documents/Particle Editor for Cocos2d and Felgo/particles |
| MeeGo Harmattan |
/home/user/.local/share/data/Particle Editor for Cocos2d and Felgo/particles |
| Symbian |
/Private/e2681898/Particle Editor for Cocos2d and Felgo/particles |
| iOS |
/var/mobile/Applications/<Packagename>/Documents/Particle Editor for Cocos2d and Felgo/particles |
| Android |
/data/data/<Packagename>/files/Particle Editor for Cocos2d and Felgo/particles |
Detailed Description of the Editor
Particle Main Menu
This menu is on the left-hand side and consists of the main title and below a status of the current menu panel. You can select the number of particle emitters that should be created of the active type with the slider. Use
these five buttons to adjust the particle emitter count on stage.
- Add
<ParticleType> - Used to add new particle effect instances of the current active particle type randomly on the scene. The amount of particles created can be set with the slider above.
- Remove First - Removes the particle emitter which was created most recently.
- Remove Last - Removes the oldest particle emitter.
- Remove All - Removes all particles on the stage.
- Respawn Particles - Respawns all particles on the stage, which can be used to restart non-looping particles with a duration set to anything else than
Particle.Infinite.
- Save as - Opens a text dialog where you enter the name of the new particle effect. It will save and rename the currently active particle effect. Use this option to save a new designed particle effect.
Particle List Menu
This menu on the left side contains the main title and below a status of the current menu panel. By using the buttons below, the status of the current active particle can be changed. It will also change if you click on a
particle in the scene! Each particle emitter available in the application can be selected in this list. Your custom creations too! Therefore, it needs to be registered in the ItemEditor
which is explained in the How To section Add New Particle Effects. Your custom particles will be listed on top of the pre-made particles.
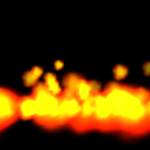
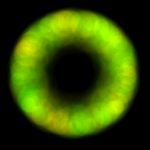
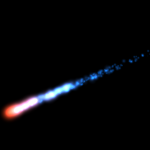
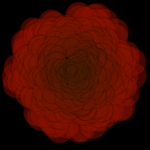
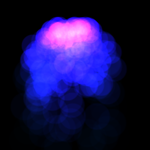
The following particles are available in the Particle Editor by default:
| Particle Effects |
| Fire Particle |
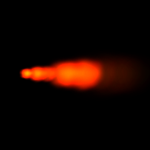 |
Fire |
 |
Laser |
 |
| Smoke Particle |
|
Death Particle |
|
Splatter Particle |
|
| Electro Sparks |
|
Boing Star |

|
Implosion |
|
| Fire Ball |

|
Warpfield |
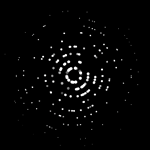
|
Fountain |
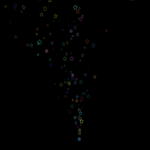
|
| Booster |

|
Leave Storm |
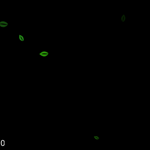
|
Snow |

|
| Space Port |

|
Flubber |
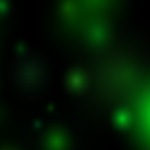
|
Expanding Universe |

|
| Lightrays |

|
Ghosty Fog |

|
Love |

|
| Sculls |

|
Wormhole |
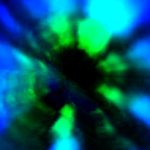
|
Distortion |
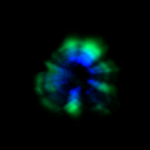
|
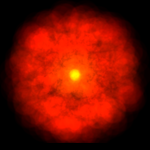
| Exploding Sun |
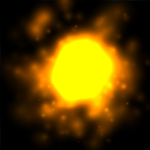
|
Eye |
|
Comet |
|
| Cellshady Tunnel |
|
Galaxy |

|
Jellyfish |
|
| Line of stars |

|
Red Lava |
|
Ring |

|
Particle Background Menu
This menu on the left side contains the main title and below a status of the current menu panel. It contains a colorpicker which defines the color of the scene background. Below is a switch which can toggle the entity base -
a red rectangle at the center position of each particle - which helps finding a particle which does not emit particles anymore. By default, the entity base is invisible.
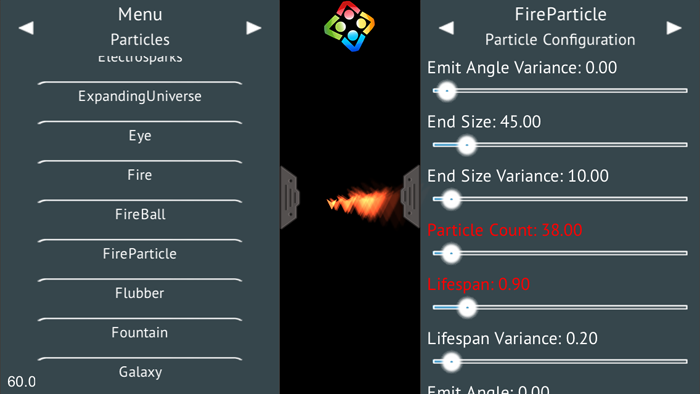
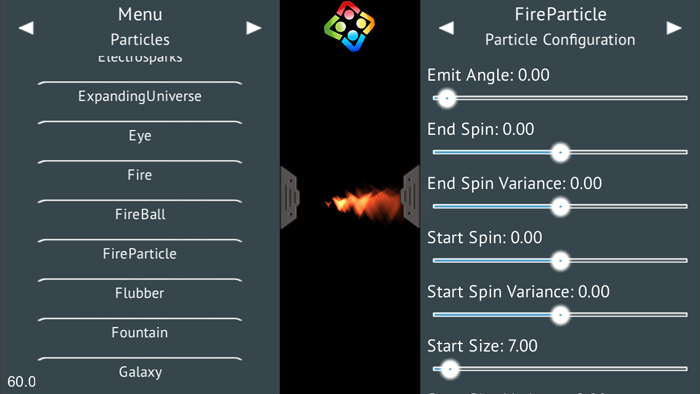
Particle Configuration Menu
This menu is used to define various parameters of the particle like the Particle::maxParticles and Particle::particleLifespan. Some of them are very critical in terms of performance and are highlighted red as you can see in the following screenshots. Also see the Particle Performance guide about these performance-critical properties.
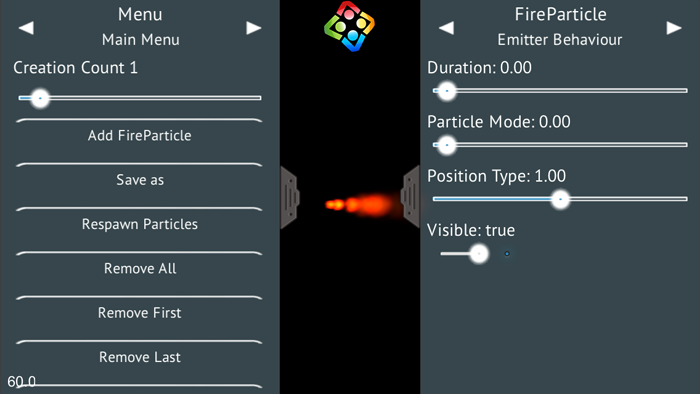
This menu is used to define the particle behavior. The duration is set to Particle.Infinite on the left position which results in a looping particle. All other values create a non-looping particle. In that case,
the particle can be respawned with the respawn button in the Particle Main Menu.
There are 2 position types of particle emitters: ParticleBase.Gravity and ParticleBase.Radius. Only the properties that belong to the specific position
type will have an effect. So if you set the type to radius for example, changing the gravity property will not do anything. See also: Particle::emittertype
You can choose from 3 different position types: ParticleBase.Free, ParticleBase.Relative and ParticleBase.Grouped. See
also: Particle::positiontype
Additionally, you can use the visibility flag to do quick performance tests by completely enabling or disabling all particle effects of the selected type.
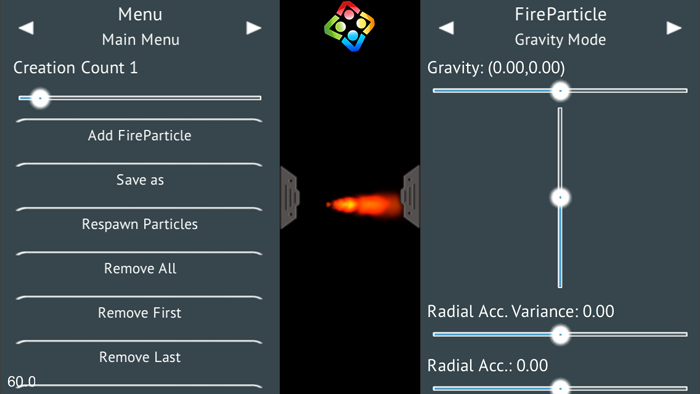
This menu is used to change the gravity properties which will only effect the particle if the emitter type is set to mode ParticleBase.Gravity in the Emitter Behavior Menu. See also: Particle::emittertype
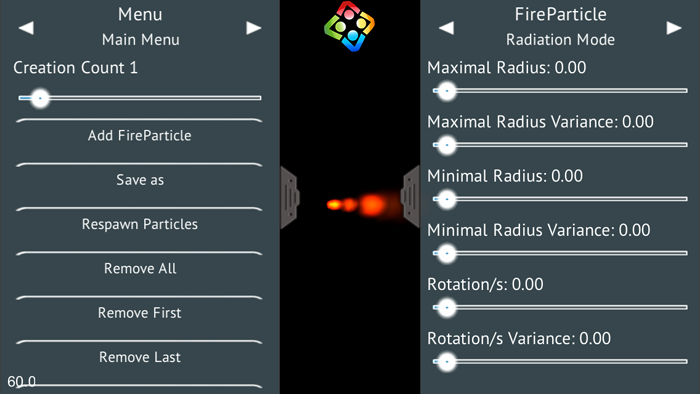
This menu is used to change the radiation properties which will only effect the particle if the emitter type is set to mode radius in the Emitter Behavior Menu. See also: Particle::emittertype
This menu is used to define the start and finish colors for the particle.
This menu is used to change the initial emit position of the particles.
Further Resources About Particle Systems
Files:
Images:


