In our previous post we explained the differences between a test build and a publish build and also showed you how to publish your game in Google Play Store. In this part of our publishing tutorial series we cover publishing your shiny game in Apple’s iOS App Store.
Note: In order to build games for publishing and unlimited test builds you need to upgrade to a Pro License. If you haven’t done so yet, head over to http://felgo.com/upgrade and take advantage of our Early Bird pricing, where you can save 50% until February.
Publishing in iOS App Store
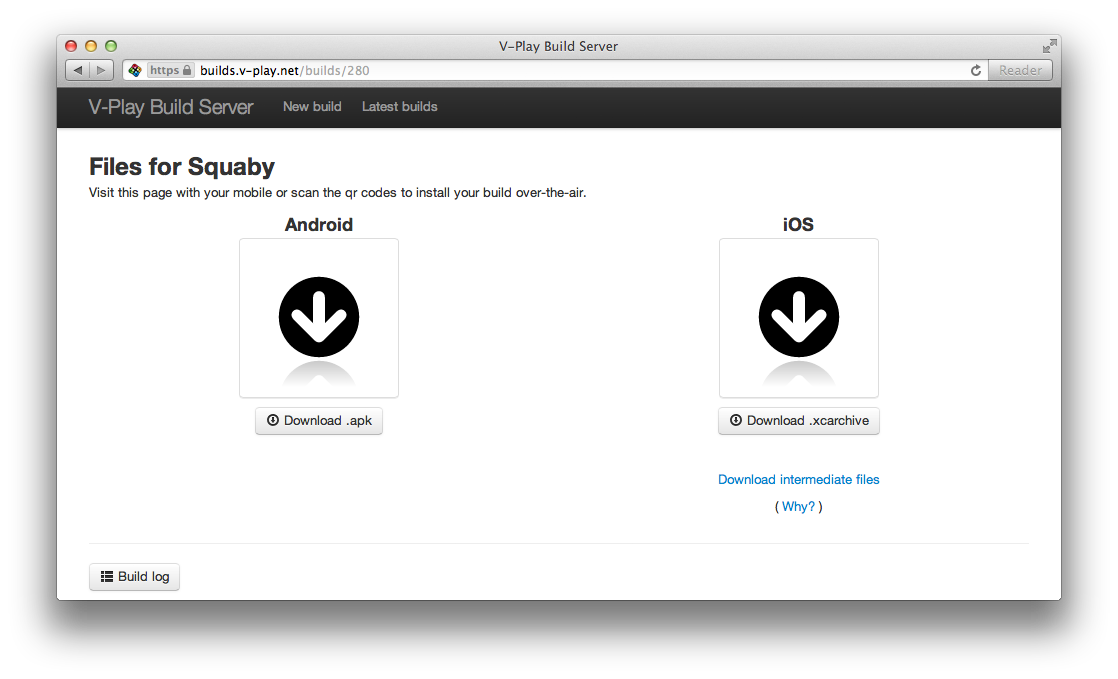
As already done for the unsigned Android apk file the initial step is to download a zipped “.xcarchive” file from the Build Server (remember that your build must be configured with the “stage:” property set to “publish”).
After downloading the file you can prepare your game for the iOS App Store.
Note: You need a Mac (with Mac OS X installed) and the latest Xcode installed in order to be able to publish a game for iOS.
Preparing and publishing your game involves the following steps:
1. Get an Apple Developer Account (use an existing Apple ID or create a new one), select if you want to register as an individual or as company, enter your contact information and then select the “iOS Developer Program”.
The iOS Developer Program costs $99 per year, for a successful registration a valid credit card (and if enrolling as a company a D-U-N-S number) is required. After applying for the program Apple checks your information, this step usually takes five to ten business days.
Note: For more information on program enrollment please have a look at Program Enrollment.
2. After you successfully enrolled in the iOS Developer Program it’s now time to prepare a distribution certificate and a provisioning profile, which are required for App Store publishing.
Login to the iOS Provisioning Portal using your credentials provided during signing up.
Select “Certificates” in the left column and afterwards the tab “Distribution”. Request a certificate as described under the tab “How To”.
Next be sure to create an explicit App ID for your game, this is needed if you’re using the Game Center plugin or one of our upcoming in-app-purchase plugins. Be sure that the App ID matches the identifier you entered in your game’s config.json as “identifier”-property, otherwise you won’t be able to upload your iOS app.
After that you are finally able to create a distribution provisioning profile in the left column under “Provisioning” and the tab “Distribution”. Again, be sure to have a look at the “How To” tab for further information.
Finally download your certificate and provisioning profile created in the previous steps. Import the certificate (along with the “WWDR intermediate certificate” if not already done) in your Mac OS X Keychain Access application and drop the provisioning profile on the Xcode icon in your dock (or simply double-click the file).
These steps are likewise the most error-prone, if there are any problems check the Apple How To’s, use Google or also ask your questions in our support forums. Especially this document provides a lot of background information and step-by-step guides.
3. The next step is to create your application in iTunes Connect. Log in, click “Manage your applications”, select the button “Add New App” and provide the requested Meta information about your app.
If you’re using our Game Center plugin this is now the right time to configure your leader boards and achievements.
When you’re ready click the button “Ready to Upload Binary”. For more information on how to add a new app entry to iTunes Connect have a look at the Developer Guide.
4. As soon as your distribution tool chain is set up like described in the previous steps, you can finally upload your game. Drop your previously downloaded “.xcarchive” file on the Xcode app icon in your dock or simply double-click it, the Organizer should pop up displaying your game’s build.
Click the button “Distribute”, select the first option “Submit to the iOS App Store”, provide your iTunes Connect credentials, select the previously imported distribution provisioning profile for signing and then finally upload your app.
If all steps were successful all you have to do is to wait for Apple to review your uploaded game. Typically, this lasts about 7 days. Again, make sure to send us a link to your game as soon as it is available in iOS App Store. 😉
Notes on open source licenses
iOS builds are currently linked statically which adds some restrictions according to used open source licenses. Especially some libraries (Qt) used under LGPL 2.1 require you to give prominent notice on using them (we recommend to add a statement as well as the LGPL 2.1 license terms in the custom EULA field you can enter during preparing your app for upload in iTunes Connect). Statically linked libraries licensed under LGPL also require you to provide intermediate files (also known as object files or object libraries) upon request of a user. Our Build Server makes life easier for you and archives these files automatically for every publish build. For more information have a look at https://builds.felgo.com/intermediates.


