Gradle Build System
Felgo uses the Gradle build system for Android builds. In order to use Gradle make sure that you adapt the following settings:
Installing Gradle Dependencies
Before using Gradle make sure that you installed the necessary packages and tools to build and deploy for Android. For more information see the Android Deplyoment Guide.
Create Gradle Template Files
Note: If you create your project with one of our project wizards, these files are automatically created for you and you don't have to perform this step.
Most plugins require you to adapt a Gradle build file. If your project does not have a custom build.gradle file yet open the Build Android APK detail pane and click the button Create
Templates.
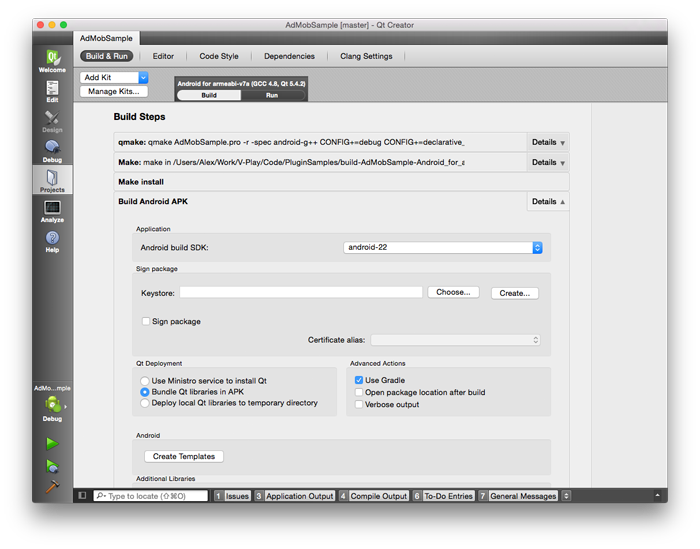
This step adds several files to a subfolder called android within your project file tree, one of them is called build.gradle and contains all relevant build settings for usage with Felgo.
Upgrading Your Project to Gradle
If your project currently uses the legacy Ant build system you can perform following steps to migrate to the new Gradle build system:
AndroidManifest.xml File
Felgo uses a custom activity for your Android project. Perform the following steps migrate your existing project for usage with Felgo 2.8.2 and above:
Note: If AndroidManifest.xml does not yet exist in your project, follow the steps above.
Open the AndroidManifest.xml file found under Other files in your project tree (switch to the XML Source tab at the top of Qt Creator's editor window or use an external text editor) and change
the
<application>'s android:name parameter from "org.qtproject.qt.android.bindings.QtApplication" to "com.felgo.helper.FelgoApplication"
and the
<activity>'s android:name parameter from "org.qtproject.qt.android.bindings.QtActivity" to "com.felgo.helper.FelgoActivity".
Note: If you already added your own custom activity you can keep the value the activity name, make however sure that your custom activity uses the base class com.felgo.helper.FelgoActivity and all your
overridden methods call the equivalent super(); methods.


