
Felgo 4 currently supports local development and deployment for the desktop platforms Windows, macOS & Linux and for the mobile platforms Android, iOS, Windows Phone & Windows Runtime.
This guide describes how to deploy Felgo apps & games to Android mobile devices.
You can test your code on Android and other platforms without any additional installation, using the Felgo Developer App. Download the app on Android or iOS and connect it to the Felgo Hot Reload application. You can find more info here.
Boost your Qt and Felgo development with continuous integration and delivery for Qt and Felgo projects. As the only CI/CD exclusively for Felgo/Qt, it enables you to build and distribute apps with minimum effort and maximum speed.
Visit Felgo Cloud Builds.
You can find more info here.
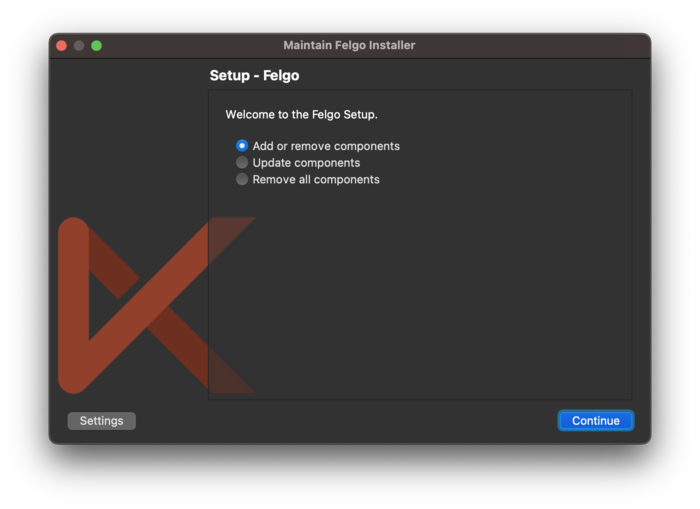
The Felgo installer only installs the packages for your desktop system initially. You can add other packages via the Maintenance Tool. The Maintenance Tool is located at the installation directory of your Felgo SDK. The executable is called MaintenanceTool.
Run this application and select Add or remove components and then choose the platforms you want to add.
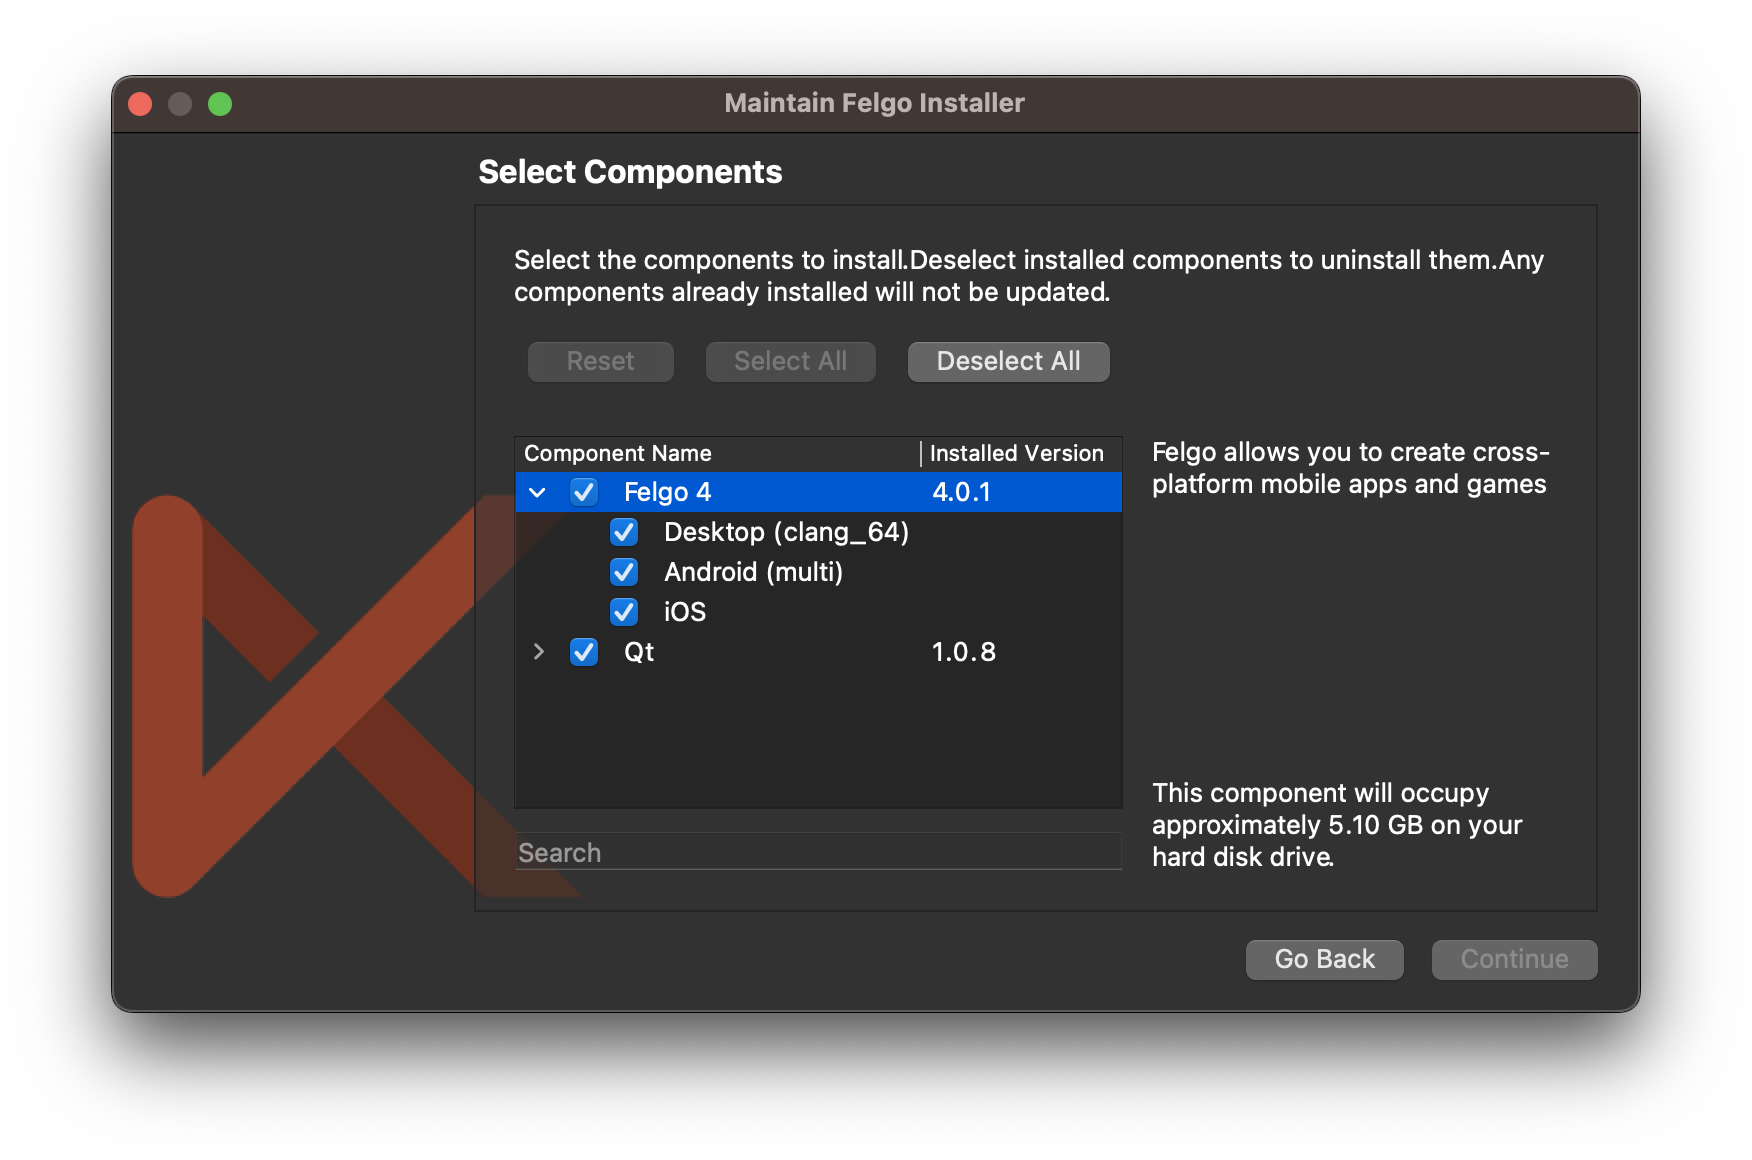
With Felgo you can deploy your apps to Android devices and tablets right from the Felgo IDE, Qt Creator.
Felgo 4 supports deployment to Android v6.0 (API level 23) or later with architectures armv7a, arm64-v8a, x86 and x86_64.
Make sure that you have the JDK (Java Development Kit) version 17 installed. If you don't have JDK 17 installed yet, you can download it here: Download JDK.
You will need the path to the JDK later to configure Qt Creator.
Note: You can also point Qt Creator to the jbr folder within your Android Studio installation to use the Java version that comes with Android Studio. For Android Studio Hedgehog this is currently JDK 17
as well.
Download Android Studio which includes the Android SDK Tools for your operating system: Download Android Studio.
Follow the instructions of the installer to install Android Studio.
You will need the path to the Android SDK later to configure Qt Creator.
By default, Android Studio installs the SDK to your Users directory. You can find the location of the SDK using the SDK Manager of Android Studio: How to find the Android SDK path in Android Studio
Start Qt Creator, open the Qt Creator Preferences, click "Devices" and select the "Android" tab. In case a specific Android NDK version is missing you will be prompted to install it. Follow the installation steps by accepting.
Download the Android NDK (Native Development Kit) for your operating system from one of the following links:
The currently recommended version is NDK 23c.
Extract the NDK to a folder of your choice. The folder path should not contain any white spaces. Recommended paths are C:\Development\Android-NDK (Windows) or /Development/Android-NDK (macOS,
Linux).
You will need the path to the Android NDK later to configure Qt Creator.
Note: For Felgo 3 and Qt 5.15 the recommended version is NDK 21e. It can be downloaded here.
Open the Android SDK Manager of Android Studio, go to Appearance & Behavior -> System Settings -> Android SDK and select the SDK Tools Tab. Make sure to have the
following components installed:
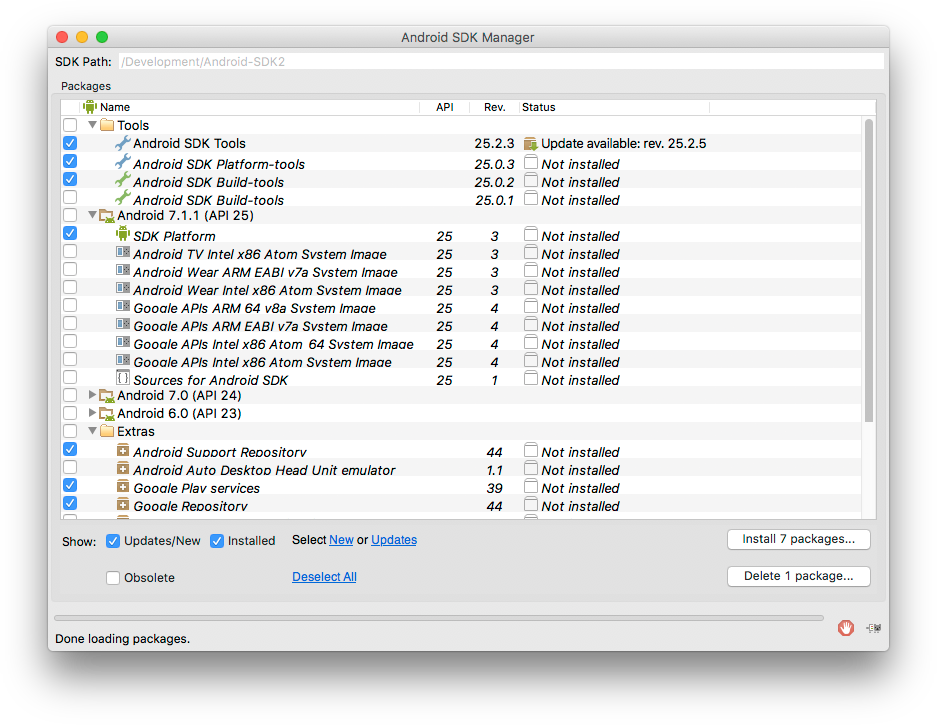
After you selected the required components, click "Install Packages" and proceed with the installation. The download might take a while.
Note: If you have a newer version of the Android SDK Built-tools installed that is incompatible, you can set ANDROID_BUILD_TOOLS_REVISION = 31.0.0 in your *.pro file to explicitly specify the
version.
When the download has finished, start Qt Creator. Open the Qt Creator Preferences, click "Devices" and select the "Android" tab. Now, set the locations of your JDK, Android SDK and Android NDK folders. Click "OK" when you're done.
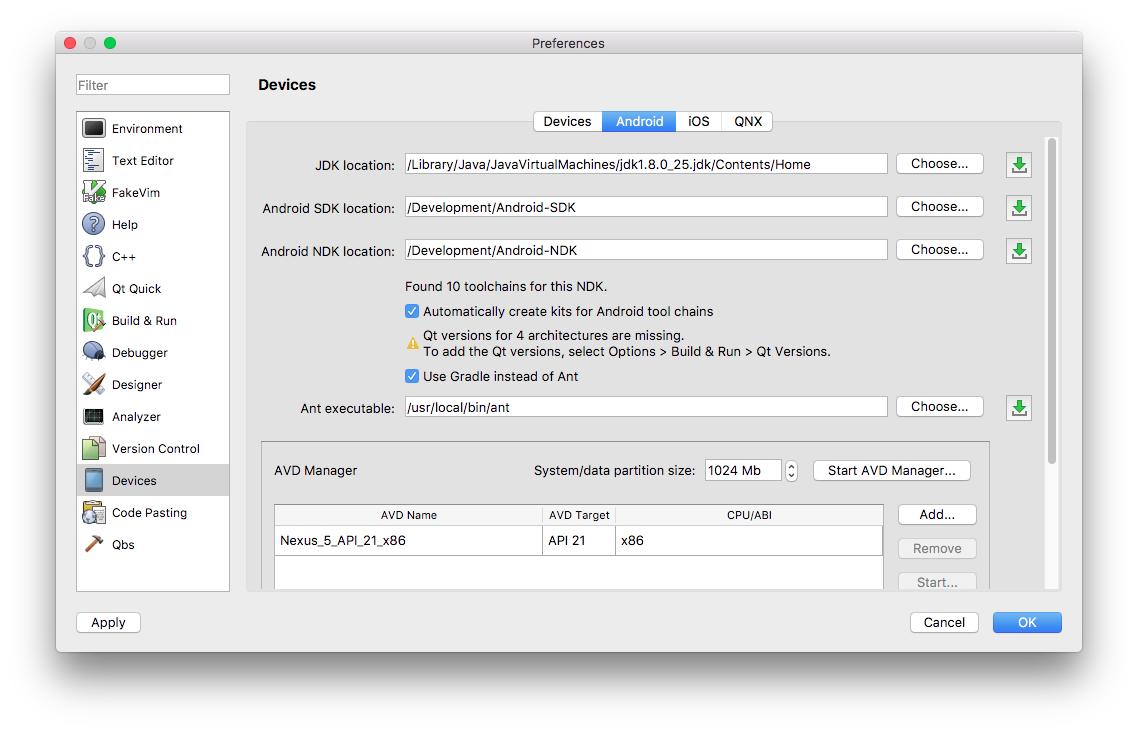
Congratulations, you successfully set up the Android SDK on your computer! Continue with the next section to learn how to deploy your app to your device.
For further information please also have a look at:
After you tested your app on real device(s), you can continue and publish your app in the app stores. See Publishing Felgo Games & Apps how to do this.