Integrate with Flurry to get insights into your app's usage.

Integrate with Flurry to get insights into your app's usage.

Session and event tracking data gives you valuable insights on how often users open your app, how long they use it and how often they return (retention).
Get insights into your app's audience with Flurry's demographic and technical data. This includes information about the mobile phone and OS version used or from which countries your users come from.
The Flurry plugin provides functions for getting insights into your app's usage for iOS & Android. The Flurry plugin implements the following features:
Session data is gathered automatically by just inserting the Flurry plugin into your app and contains information how often users use your app and how long they use it, or how often they return (retention).
In addition to session data, you can define custom Events to track the actions your users make in your app. This is useful for tracking how users actually use your app, to optimize conversion and to segment your users depending on their behavior in the app.
Demographics and technical details about your Audience are also analyzed automatically. This includes information about the mobile phone and OS version used, and from which countries your users come from. Other audience information like user age and gender can additionally be set within the plugins, which allows an even deeper analysis of your user base.
To try the plugin or see an integration example have a look at the Felgo Plugin Demo app.
Please also have a look at our plugin example project on GitHub: https://github.com/FelgoSDK/PluginDemo.
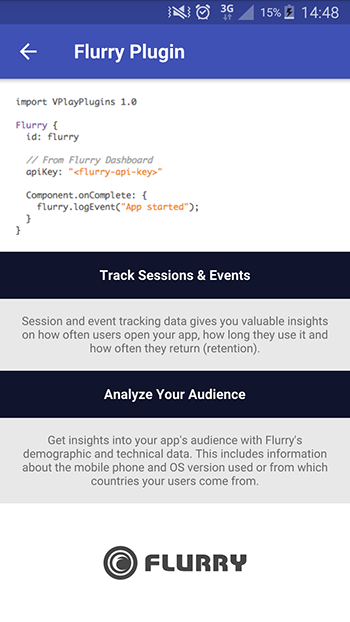
The Flurry item can be used like any other QML item. Here is a simple example of how to integrate the plugin in your existing app and track an event named "App Started" after the plugin gets loaded:
 import Felgo
 import QtQuick

 App {

   Flurry {
     id: flurry
     // From Flurry Dashboard
     apiKey: "HMV9VC35FS77G6QK9TNZ"
     onPluginLoaded: {
       flurry.logEvent("Started App");
     }
   }

   NavigationStack {
     AppPage {
       id: page
       title: "Flurry"

       AppButton {
         anchors.centerIn: parent
         text: "Push Page"
         onClicked: {
           flurry.logEvent("Clicked Push Page")
           page.navigationStack.push(subPage)
         }
       }

     }// Page
   } // NavigationStack

   Component {
     id: subPage
     AppPage {
       title: "Sub Page"
       onPushed: flurry.logTimedEvent("Viewed Sub Page")
       onPopped: flurry.endTimedEvent("Viewed Sub Page")
     }
   }
 }// App
|
Item provides functions for getting insights into your app's usage |
When you create a new project, you can choose to add example plugin integrations as well. Open Qt Creator and choose “File / New File or Project”, then choose Single-Page Application in the Felgo Apps section or any other wizard. For Felgo Games, you can also find an own Game with Plugins project template as an own wizard.
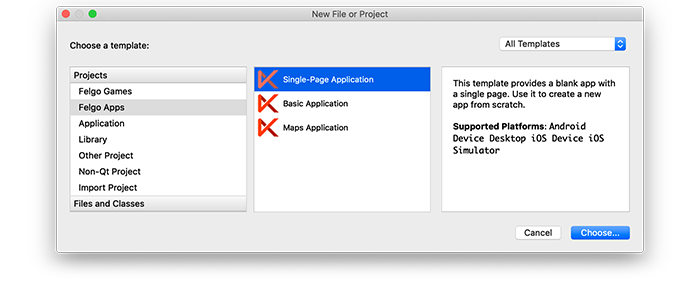
Then select the platforms you want to run your application on. The plugins are available for both iOS & Android. There is a fallback functionality in place on Desktop platforms so your project still works when you call methods of the plugins. This allows you to do the main development on your PC, and for testing the plugin functionality you can run the project on iOS and Android.
After the Kit Selection, you can choose which of the plugins you’d like to add to your project:
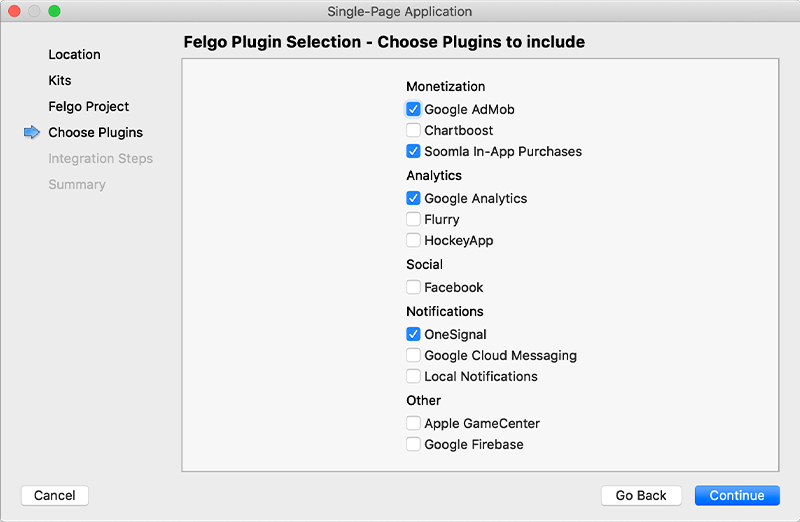
Then complete the wizard, your project is now set up with all the correct plugin dependencies for Android & iOS automatically. This includes:
.gradle file for Android..plist file for iOS.CMakeLists.txt file to include the plugin libraries for iOS.Note: Additional integration steps are still required for most plugins, for example to add the actual plugin libraries for iOS to your project. Please have a look at the integration steps described in the documentation for each of the used plugins.
If you have an existing Felgo application, follow these steps to include a plugin to your app or game:
In Qt Creator, select “File / New File or Project” and choose either Felgo Games or Felgo Apps from Files and Classes. Then select Felgo Plugin and press Choose.
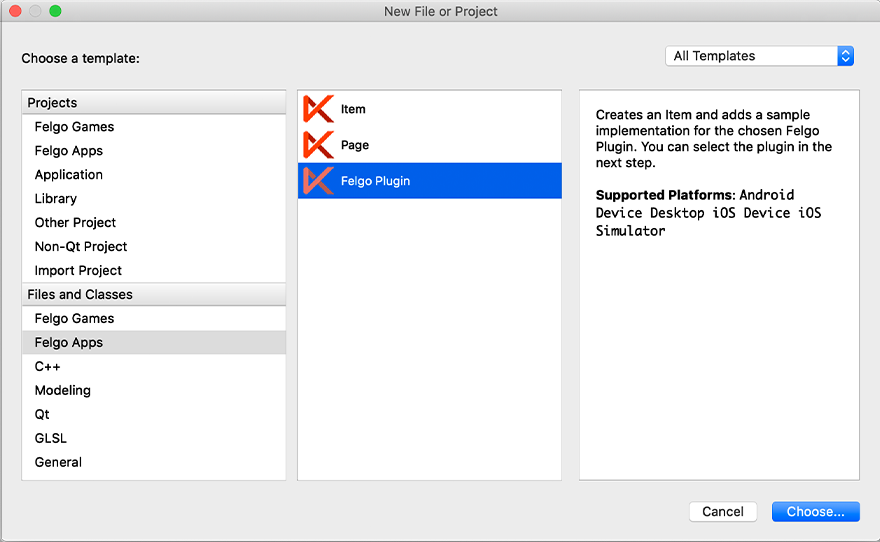
You can now select the plugin you want to add:
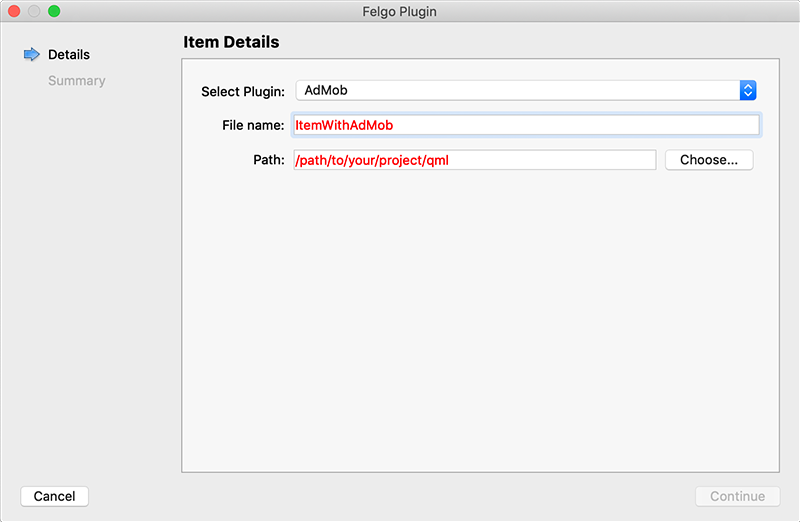
The plugin item, which contains the chosen plugin and a short usage example, is now added to your project. To use the item in your project, simply perform these steps:
main.qml file.CMakeLists.txt file & .plist file for iOS usage. See the iOS integration guide of the chosen plugin for more information..gradle file for Android usage. See the Android integration guide of the chosen plugin for more information.Note: If you have an existing Qt application, you can also add Felgo Plugins to your app! See here how to do this.
You can test all plugins as soon as the required integration steps and plugin configuration are completed.
However, the plugins are only available as Trial Versions if they are not activated with a valid license. When you are using unlicensed plugins, a dialog is shown and a watermark overlays your application to notify you about the testing state of the plugin.
All monetization plugins are free to use in all licenses, other plugins are only fully usable if you have purchased the Startup or Business license. To activate plugins and enable their full functionality it is required to create a license key. You can create such a key for your application using the license creation page.
This is how it works:
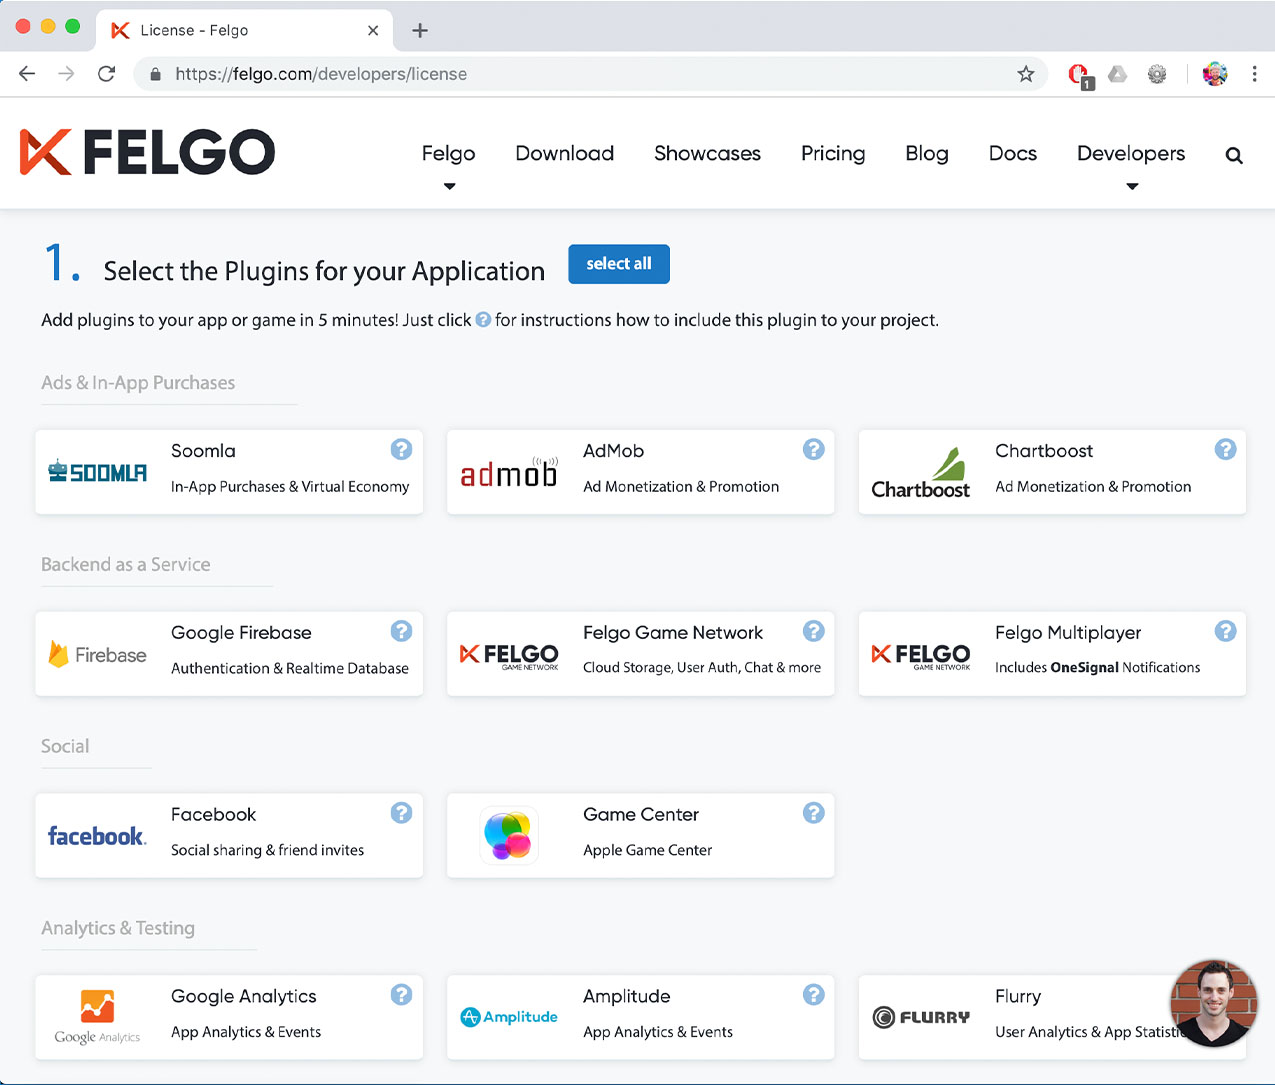
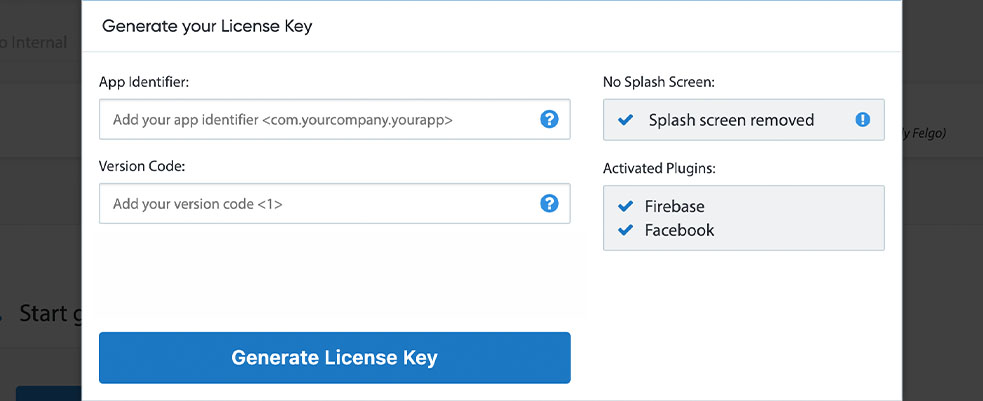
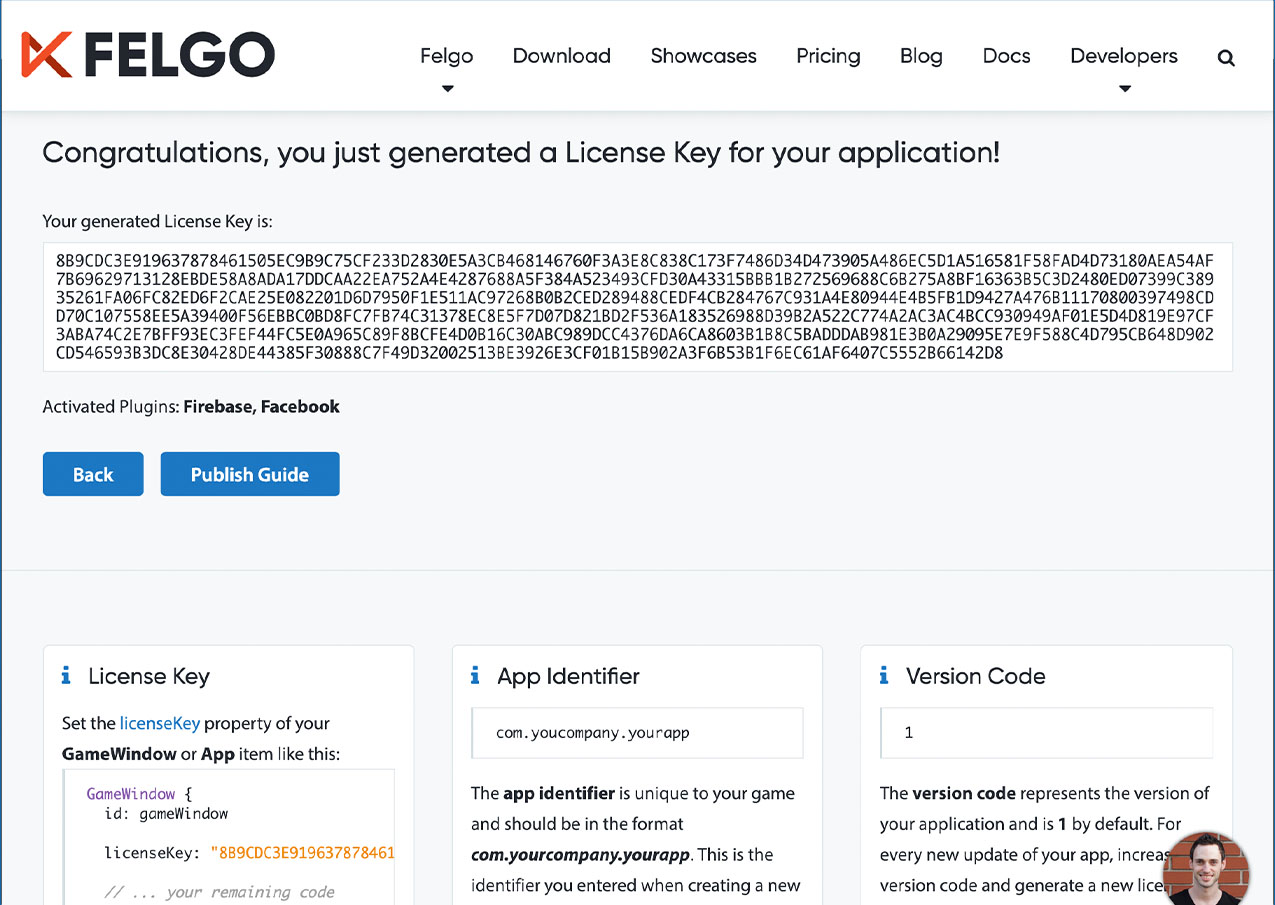
To use the Flurry plugin you need to create a Flurry Account and add the platform-specific native libraries to your project, described here:
Set up a Flurry user account at https://login.flurry.com/home or login to your existing account. Then open your Flurry dashboard (https://dev.flurry.com/home.do) and add a new application. You can either use the same apiKey for all platforms or create an apiKey for each platform. We suggest to use the same key, because then you can easier see possible differences on these platforms regarding app downloads and user behavior.
Note: It usually takes about 24 hours from sending the data from the game until the analytics data is available online.
Add the following lines of code to your CMakeLists.txt file:
 set(FELGO_PLUGINS
    flurry
 )
Note: Make sure to declare the FELGO_PLUGINS before calling felgo_configure_executable, which links the required Frameworks based on your settings.
libFlurry.a from the ios subfolder to a sub-folder called ios within your project directory.build.gradle file and add the following lines to the dependencies block:
 dependencies {
   implementation 'com.felgo.plugins:plugin-flurry:4.+'
 }
Note: If you did not create your project from any of our latest wizards, make sure that your project uses the Gradle Build System like described here.
| iOS | 7.8.2 |
| Android | 14.4.0 |
Note: Other Flurry SDK versions higher than the stated ones might also be working but are not actively tested as of now.