Integrate with Google Analytics to measure user interactions for your mobile and desktop apps.

Integrate with Google Analytics to measure user interactions for your mobile and desktop apps.

Send your app's page views or custom events to Google Analytics to learn more about the usage patterns of your apps.
See how your users navigate through your apps, which content is the most valuable for your users and more.
The Google Analytics Plugin lets you measure user interactions for your mobile and desktop apps. It allows to track screen views and custom events to gain insights into your app's usage.
The two main methods for using the Google Analytics plugin and reports are GoogleAnalytics::logScreen and GoogleAnalytics::logEvent.
Note: This plugin works with the now deprecated Google Universal Analytics. For Google Analytics 4, use the Firebase Analytics. Find more information at the Google Analytics documentation.
To try the plugin or see an integration example have a look at the Felgo Plugin Demo app.
Please also have a look at our plugin example project on GitHub: https://github.com/FelgoSDK/PluginDemo.
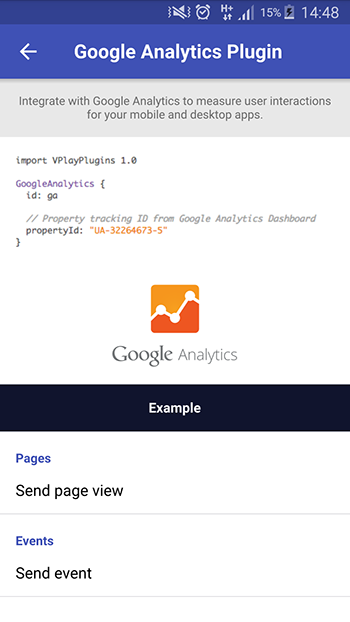
The GoogleAnalytics item can be used like any other QML item. Add a single instance of the item to the root item of your QML files to call it from anywhere in your app.
 import Felgo
 import QtQuick

 App {

   GoogleAnalytics {
     id: ga
     // Property tracking ID from Google Analytics Dashboard
     propertyId: "UA-32264673-5"
     onPluginLoaded: {
       ga.logEvent("App Action", "Started App")
     }
   }

   NavigationStack {
     AppPage {
       id: page
       title: "Google Analytics"

       AppButton {
         anchors.centerIn: parent
         text: "Push Page"
         onClicked: {
           ga.logEvent("User Action", "Clicked Push Page")
           page.navigationStack.push(subPage)
         }
       }

     }// Page
   } // NavigationStack

   Component {
     id: subPage
     AppPage {
       title: "Sub Page"
       onPushed: ga.logScreen("Sub Page")
     }
   }
 }// App
|
Google Analytics Plugin lets you measure user interactions for your mobile and desktop apps |
When you create a new project, you can choose to add example plugin integrations as well. Open Qt Creator and choose “File / New File or Project”, then choose Single-Page Application in the Felgo Apps section or any other wizard. For Felgo Games, you can also find an own Game with Plugins project template as an own wizard.
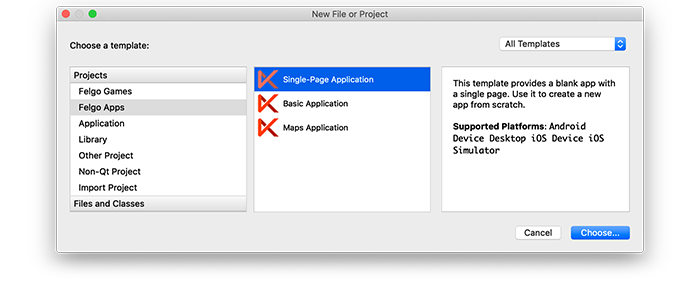
Then select the platforms you want to run your application on. The plugins are available for both iOS & Android. There is a fallback functionality in place on Desktop platforms so your project still works when you call methods of the plugins. This allows you to do the main development on your PC, and for testing the plugin functionality you can run the project on iOS and Android.
After the Kit Selection, you can choose which of the plugins you’d like to add to your project:
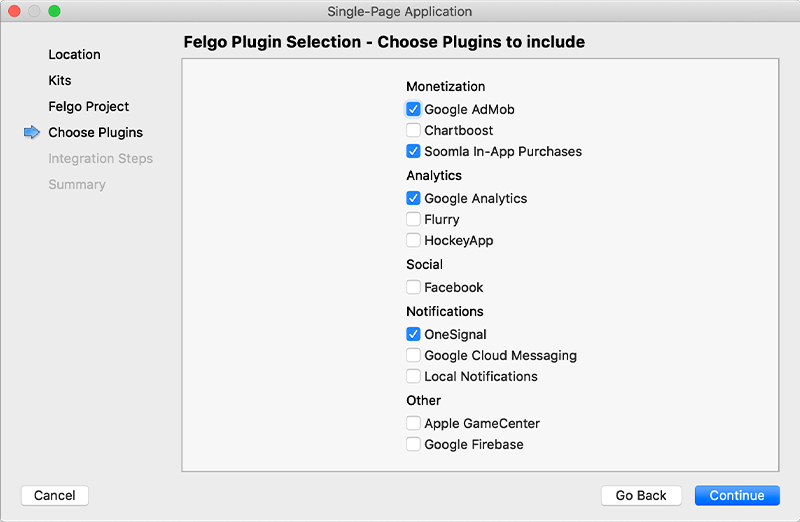
Then complete the wizard, your project is now set up with all the correct plugin dependencies for Android & iOS automatically. This includes:
.gradle file for Android..plist file for iOS.CMakeLists.txt file to include the plugin libraries for iOS.Note: Additional integration steps are still required for most plugins, for example to add the actual plugin libraries for iOS to your project. Please have a look at the integration steps described in the documentation for each of the used plugins.
If you have an existing Felgo application, follow these steps to include a plugin to your app or game:
In Qt Creator, select “File / New File or Project” and choose either Felgo Games or Felgo Apps from Files and Classes. Then select Felgo Plugin and press Choose.
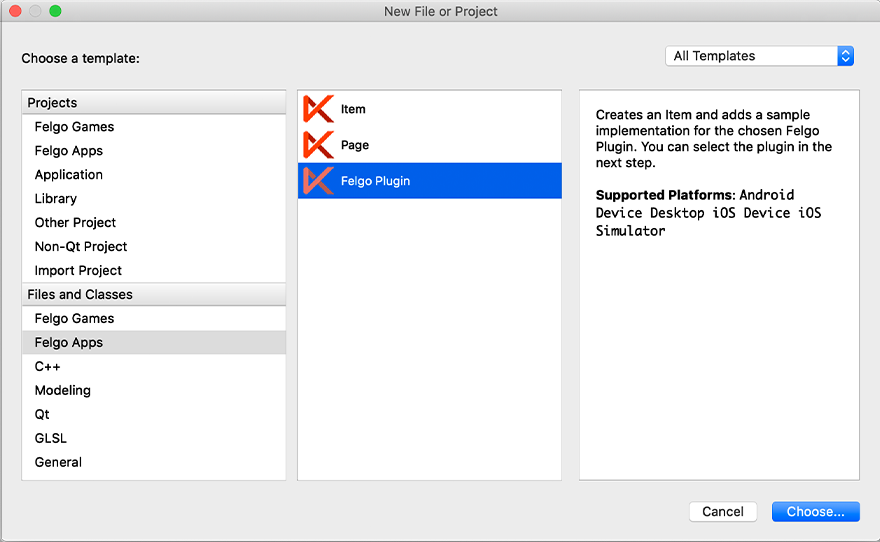
You can now select the plugin you want to add:
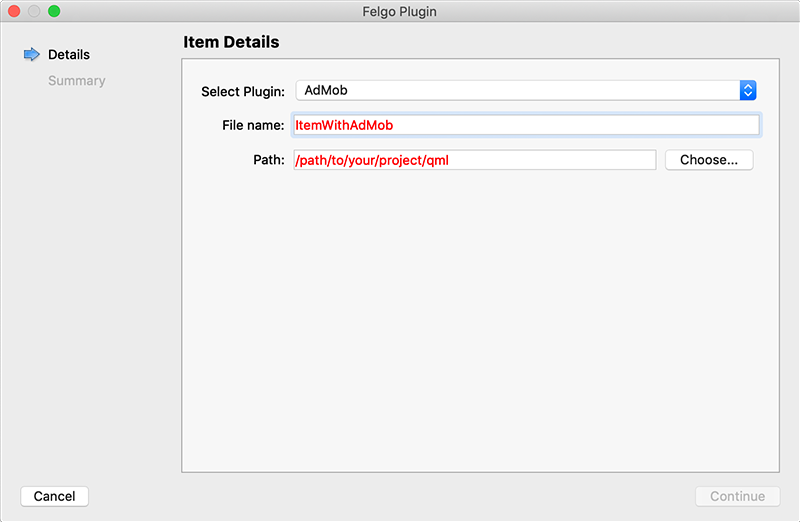
The plugin item, which contains the chosen plugin and a short usage example, is now added to your project. To use the item in your project, simply perform these steps:
main.qml file.CMakeLists.txt file & .plist file for iOS usage. See the iOS integration guide of the chosen plugin for more information..gradle file for Android usage. See the Android integration guide of the chosen plugin for more information.Note: If you have an existing Qt application, you can also add Felgo Plugins to your app! See here how to do this.
You can test all plugins as soon as the required integration steps and plugin configuration are completed.
However, the plugins are only available as Trial Versions if they are not activated with a valid license. When you are using unlicensed plugins, a dialog is shown and a watermark overlays your application to notify you about the testing state of the plugin.
All monetization plugins are free to use in all licenses, other plugins are only fully usable if you have purchased the Startup or Business license. To activate plugins and enable their full functionality it is required to create a license key. You can create such a key for your application using the license creation page.
This is how it works:
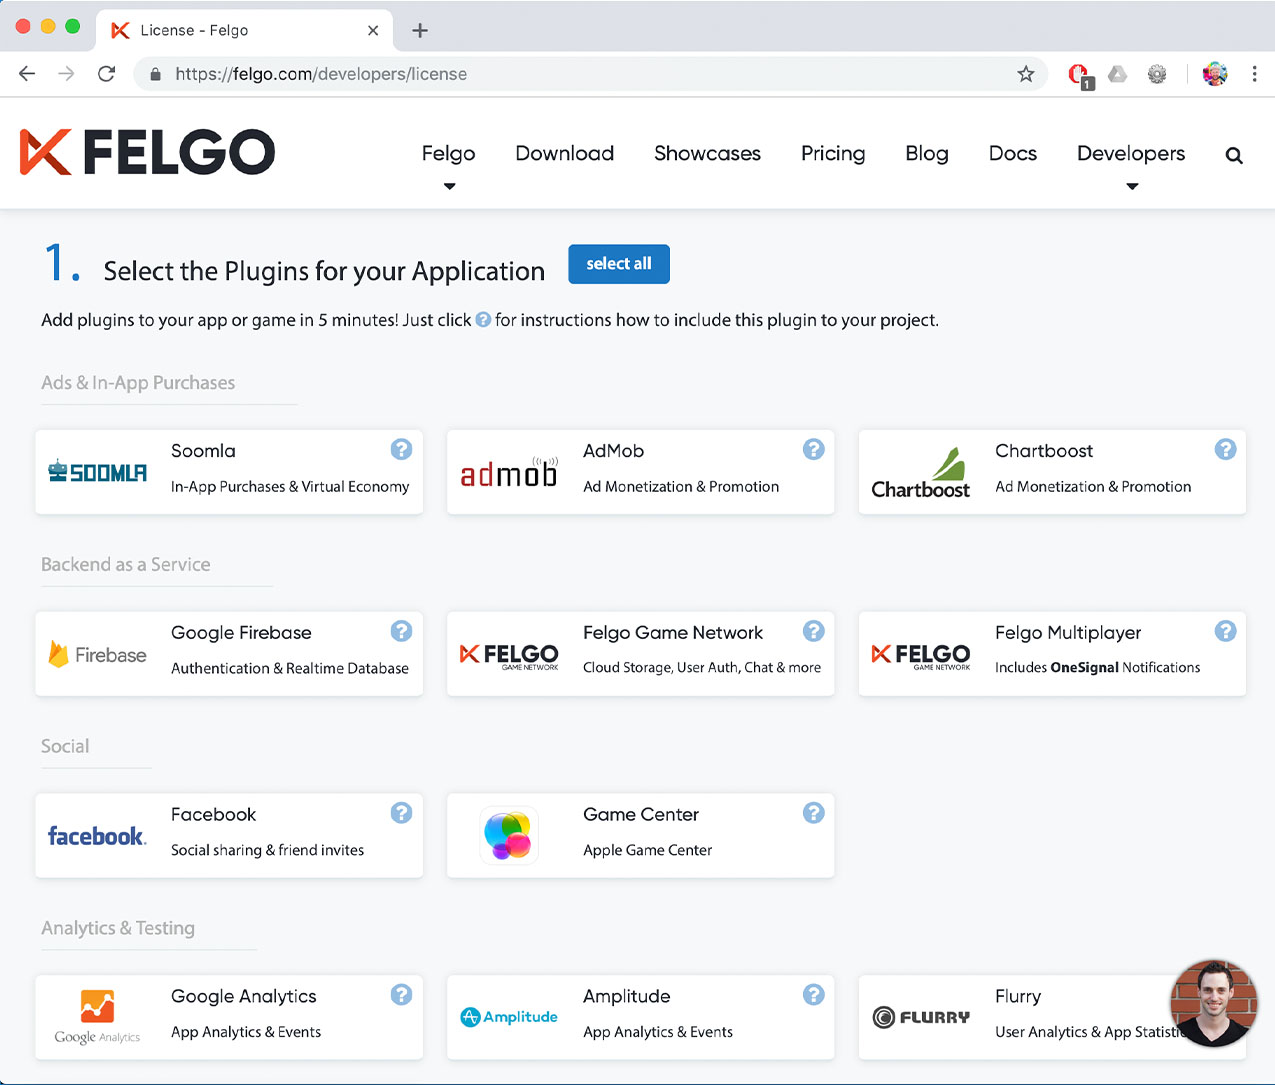
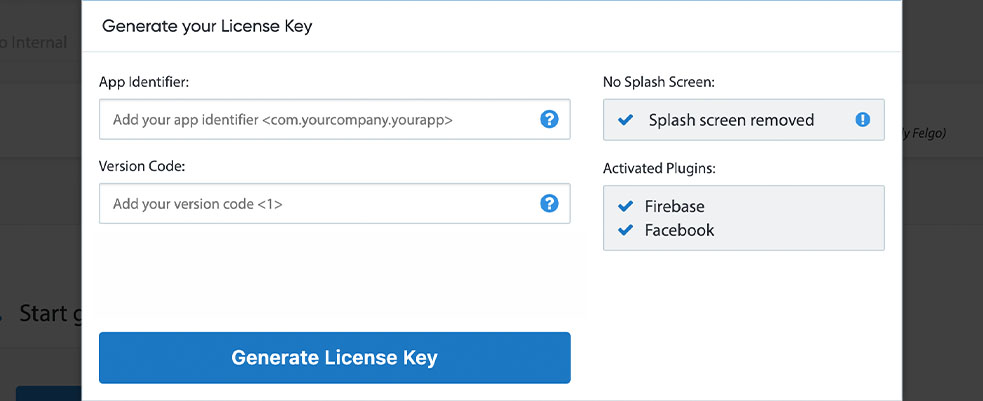
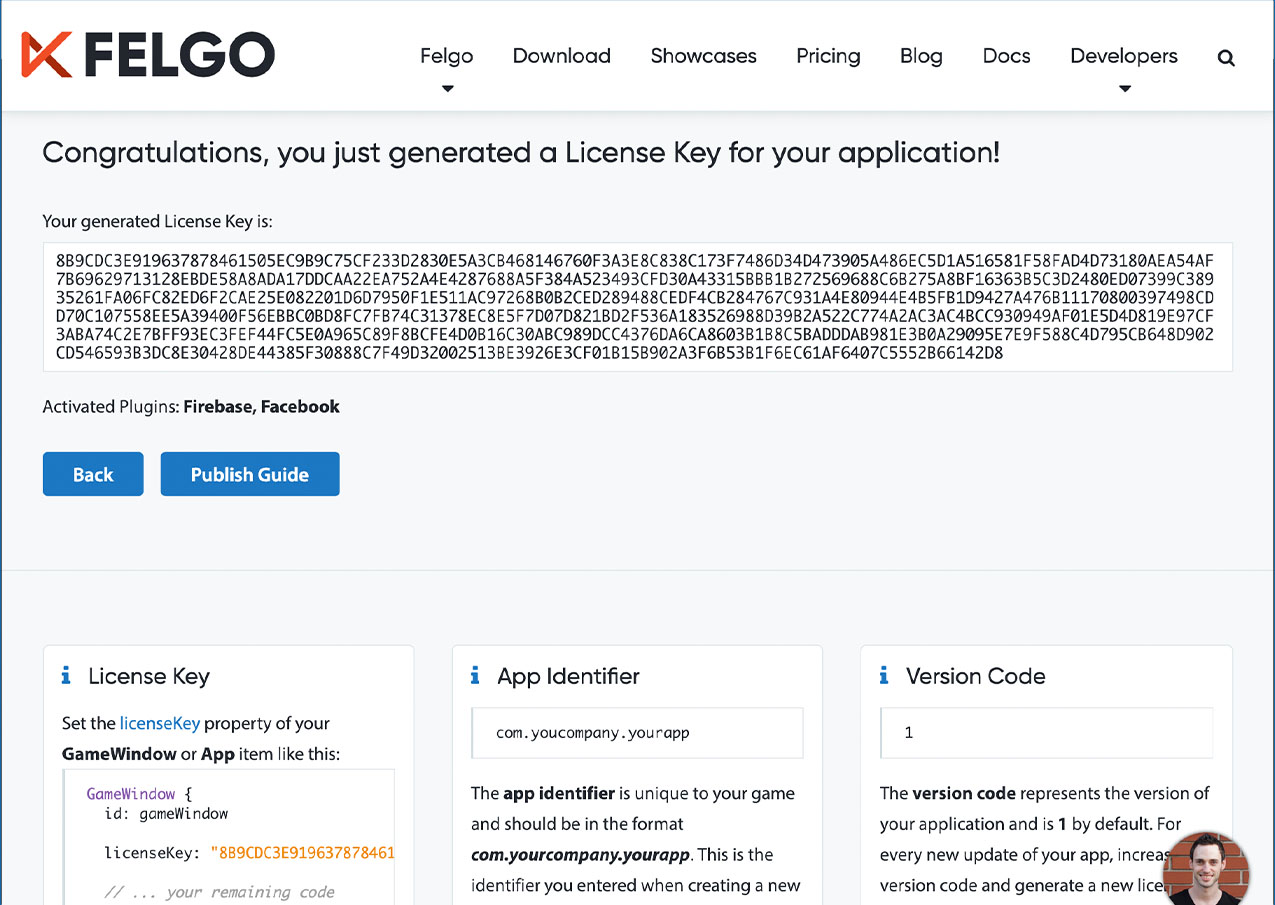
Make sure to set the application identifier in your main.cpp file before initializing the QML engine:
 int main(int argc, char *argv[])
 {
     QGuiApplication app(argc, argv);

     // Add this line to match your application identifier:
     app.setOrganizationDomain("com.felgo.plugins.GoogleAnalyticsSample");

     QQmlApplicationEngine engine;
     ...

     return app.exec();
 }
If you want to see information about the app version within the Google Analytics Dashboard add a second line just below the above:
 // Set your app's current version number here:
 app.setApplicationVersion("1.0");
Note: If you're only using the iOS & Android version of the plugin you don't need to modify your main.cpp file, as these values are read from the underyling platform itself.
Set up a Google Analytics user account at https://www.google.com/analytics/ and create a new "Website" property like described here. You later on need the generated tracking ID (UA-xxxxxxxx-y).
Note: It usually takes some time for new properties to set up before Google Analytics shows some tracking data.