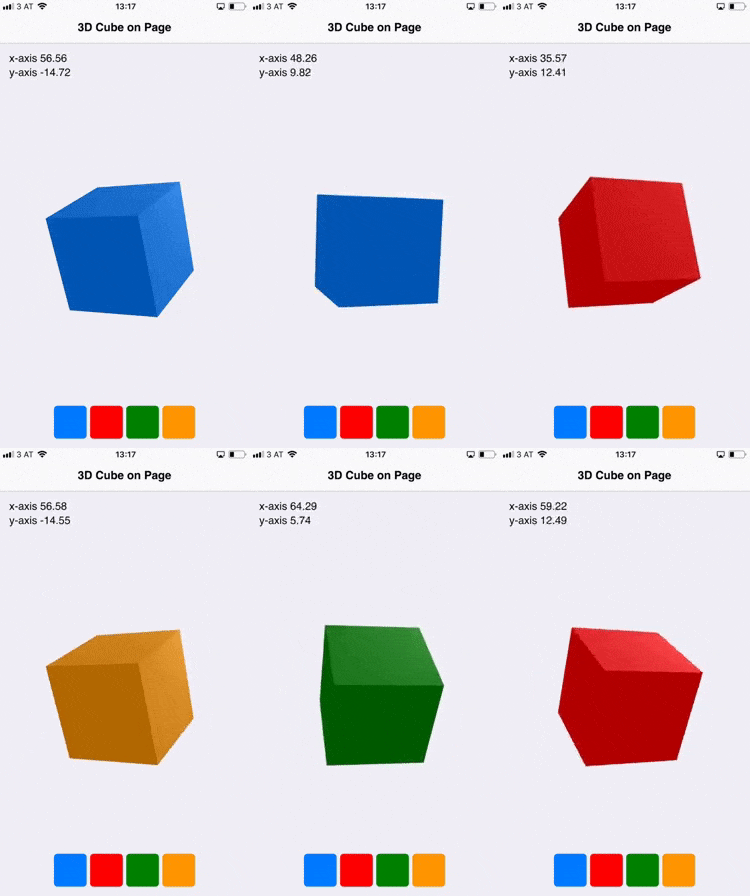
This 130 line code example displays a 3D cube in your app. The cube rotates depending on the device rotation, using the RotationSensor. You can also change the color of the cube.

 import Felgo
 import QtQuick
 // 3d imports
 import QtQuick.Scene3D
 import Qt3D.Core
 import Qt3D.Render
 import Qt3D.Input
 import Qt3D.Extras
 import QtSensors

 App {
   // Set screen to portrait in hot reload client app (not needed for normal deployment)
   onInitTheme: NativeUtils.preferredScreenOrientation = NativeUtils.ScreenOrientationPortrait

   RotationSensor {
     id: sensor
     active: true
     // We copy reading to custom property to use behavior on it
     property real readingX: reading ? reading.x : 0
     property real readingY: reading ? reading.y : 0
     // We animate property changes for smoother movement of the cube
     Behavior on readingX {NumberAnimation{duration: 200}}
     Behavior on readingY {NumberAnimation{duration: 200}}
   }

   NavigationStack {
     AppPage {
       title: "3D Cube on Page"
       backgroundColor: Theme.secondaryBackgroundColor

       Column {
         padding: dp(15)
         spacing: dp(5)

         AppText {
           text: "x-axis " + sensor.readingX.toFixed(2)
         }
         AppText {
           text: "y-axis " + sensor.readingY.toFixed(2)
         }
       }

       // 3d object on top of camera
       Scene3D {
         id: scene3d
         anchors.fill: parent
         focus: true
         aspects: ["input", "logic"]
         cameraAspectRatioMode: Scene3D.AutomaticAspectRatio

         Entity {

           // The camera for the 3d world, to view our cube
           Camera {
             id: camera3D
             projectionType: CameraLens.PerspectiveProjection
             fieldOfView: 45
             nearPlane : 0.1
             farPlane : 1000.0
             position: Qt.vector3d( 0.0, 0.0, 40.0 )
             upVector: Qt.vector3d( 0.0, 1.0, 0.0 )
             viewCenter: Qt.vector3d( 0.0, 0.0, 0.0 )
           }

           components: [
             RenderSettings {
               activeFrameGraph: ForwardRenderer {
                 camera: camera3D
                 clearColor: "transparent"
               }
             },
             InputSettings { }
           ]

           PhongMaterial {
             id: material
             ambient: Theme.tintColor // Also available are diffuse, specular + shininess to control lighting behavior
           }

           // The 3d mesh for the cube
           CuboidMesh {
             id: cubeMesh
             xExtent: 8
             yExtent: 8
             zExtent: 8
           }

           // Transform (rotate) the cube depending on sensor reading
           Transform {
             id: cubeTransform
             // Create the rotation quaternion from the sensor reading
             rotation: fromAxesAndAngles(Qt.vector3d(1,0,0), sensor.readingX*2, Qt.vector3d(0,1,0), sensor.readingY*2)
           }

           // The actuac 3d cube that consist of a mesh, a material and a transform component
           Entity {
             id: sphereEntity
             components: [ cubeMesh, material, cubeTransform ]
           }
         }
       } // Scene3D

       // Color selection row
       Row {
         anchors.horizontalCenter: parent.horizontalCenter
         anchors.bottom: parent.bottom
         spacing: dp(5)
         padding: dp(15)

         Repeater {
           model: [Theme.tintColor, "red", "green", "#FFFF9500"]

           Rectangle {
             color: modelData
             width: dp(48)
             height: dp(48)
             radius: dp(5)

             MouseArea {
               anchors.fill: parent
               onClicked: {
                 material.ambient = modelData
               }
             }
           }
         }
       }
     } // Page
   } // NavigationStack
 } // App

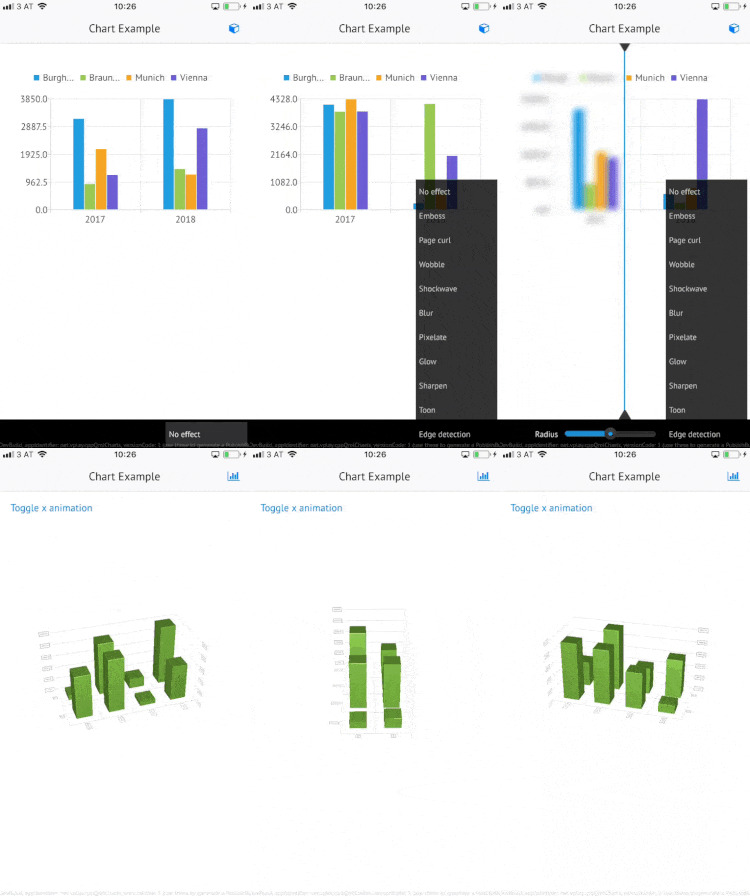
You can find an example app that uses a C++ model to show 2D and 3D charts here: C++ Backend Charts Demo App
You can include 3D content in your app using the Qt 3D module. You can find a list of 3D examples here.
You can have a look at Qt 3D in action in this video: https://www.youtube.com/watch?v=zCBESbHSR1k
Add Augmented Reality to Your Qt Mobile App with Wikitude and Felgo
Felgo’s Wikitude Plugin introduces the Wikitude Augmented Reality SDK in your Qt cross-platform app. It only takes a few lines of QML code to integrate rich cross-platform AR experiences.
Felgo’s Wikitude Plugin introduces the Wikitude Augmented Reality SDK in your Qt cross-platform app. It only takes a few lines of QML code to integrate rich cross-platform AR experiences.
See this post to for a detailed introduction to Augmented Reality with Wikitude: Why and How to Add Augmented Reality to Your Mobile App
Machine Learning: Add Image Classification for iOS and Android with Qt and TensorFlow
This demo uses TensorFlow in a Felgo app, to run Image Classification and Object Detection models.
This demo uses TensorFlow in a Felgo app, to run Image Classification and Object Detection models.
See this guide for detailed steps how to build and integrate TensorFlow with Felgo: Add Image Classification for iOS and Android with Qt and TensorFlow