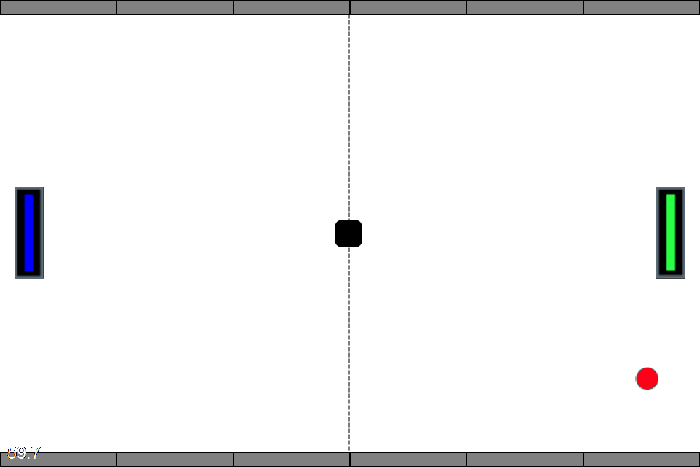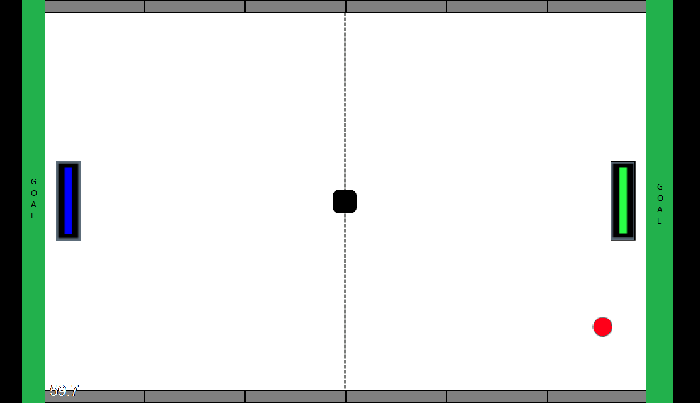
How to make a game like Pong with Felgo - Paddles
You can prepare two paddle images with the size of 20px*60px placed in your img folder.


Afterwards you create a Paddle.qml in the entities directory which includes a new EntityBase loading the paddle image comparable to the Ball.qml. Furthermore the Paddle can be used as player instance which means you have to add some player specific logic, such as: a playerID to identify the player or a MultiTouchArea which influences the entity using the users touch input.
 import QtQuick 2.0

 import Felgo 4.0

 EntityBase {
   id: entity
   entityType: "paddle"

   // The ID of the player
   property int playerID : 0
   // Save the score of the player
   property int score: 0

   BoxCollider {
     id: boxCollider
     width: sprite.width
     height: sprite.height
     bodyType: Body.Static

     // Entity does not have width and height, therefore we center the CircleCollider in the entity.
     anchors.centerIn: parent
     // set friction between 0 and 1
     fixture.friction: 0
     // restitution is bounciness
     fixture.restitution: 1.0
   }

   Image {
     id: sprite
     // use a inline if to decide which image should be loaded.
     source: playerID === 1 ? "../../assets/img/paddle_green.png" : "../../assets/img/paddle_blue.png"
     // this is the size compared to the scene size (480x320) - it will automatically be scaled when the window size is bigger than the scene
     // the image will automatically be scaled to this size
     anchors.centerIn: boxCollider
   }

   MultiTouchArea {
     // A bigger touch area should be used so the fingers of the user do not block the view
     width: sprite.width*4
     height: sprite.height
     anchors.centerIn: sprite
     // the touch are should only be usable when a human is the player
     enabled: true
     // The target of this touch are is this paddle element
     // It changes the x,y position of the paddle
     multiTouch.target: parent
     // The paddle should move only into Y direction therefore block X direction
     multiTouch.dragAxis: MultiTouch.YAxis
     // limit the minimum and maximum of the touch area, because the
     // paddle should not move into the wall
     multiTouch.minimumY: level.y+level.blockHeight+sprite.height/2
     multiTouch.maximumY: level.height-sprite.height/2-level.blockHeight
   }
 }
Two new player instances can be placed in the level now. Don't forget to create a player alias for each player instance you create in the level file. You may not want to place the paddles directly to the left and right wall, but you can add some deadzone. To get the right visibility you should insert the paddles in Level.qml after the background and before the ball instance.
 ...

   // this is needed so an alias can be created from the main window!
   property alias player1: player1
   property alias player2: player2
   property alias ball: ball

   // 3 Wall blocks for each player side. Use gameWindowAnchorItem for the correct scaling on different display sizes
   property int blockWidth: gameWindowAnchorItem.width/6
   property int blockHeight: 10
   // space from goal to paddle
   property int deadZone: blockWidth/2+10

 ...

   // Player 1 is the right player
   Paddle {
     id: player1
     playerID: 1

     x: level.width-deadZone
     y: level.height/2
   }

   // Player 2 is the left player
   Paddle {
     id: player2
     playerID: 2

     x: deadZone
     y: level.height/2
   }
You should also add the player alias to the FelgoScene.qml so the players can be accessed from everywhere in the scene.
 ...
   width: 480
   height: 320

   property alias level: level
   property alias entityContainer: level
   property alias ball: level.ball
   property alias player1: level.player1
   property alias player2: level.player2

 ...
At the end it looks like a real game, and you already can play it with a friend, you just have to count the points on your own.

Counting on your own is exhausting and your opponent could betray you, so the next step is to add some game logic. One approach is to create a goal element which increases the player score and resets the ball. The Goal.qml in the entities directory is similar to the Wall.qml but with less Rectangles, because it isn't visible at all. It uses an additional property target which stores the target of the player who wins on collision.
 import QtQuick 2.0

 import Felgo 4.0

 EntityBase {
     id: entity
     entityType: "goal"

     // player which should get a point is stored
     property variant target

     BoxCollider {
         id: boxCollider

         // the goal should not move
         bodyType: Body.Static

         fixture.onBeginContact: {
           target.score++
           // restart the ball
           level.reStart()
         }
     }
 }
The new goal instance should be placed in your level between the ball and the first wall.
 ...
   Ball {
     id: ball
     x: gameWindowAnchorItem.width/2
     y: parent.height/2
   }

   // Right goal
   Goal {
     target: player1
     height: parent.height
     width: deadZone
     anchors.left: parent.right
     anchors.bottom: parent.bottom
   }

   // Left goal
   Goal {
     target: player2
     height: parent.height
     width: deadZone
     anchors.right: parent.left
     anchors.bottom: parent.bottom
   }

   // Left Player Top
   Wall {
 ...
The goals are placed outside the visible Scene to get a nicer visual effect of the ball hitting the edge.

You should also add a reset and end function to the end of the Level.qml which is used by the goal to reset the ball after hitting the edge. It uses a timer to provide some more preparation time before the ball gets respawned again.
 ...
   Timer {
     id: startTimer
     interval: 1000;
     onTriggered: {
       ball.reStart(gameWindowAnchorItem.width/2, parent.height/2)
     }
   }

   // Restarts the ball
   function reStart() {
     // move the ball to the middle and stop it
     ball.reset(gameWindowAnchorItem.width/2, parent.height/2)
     // restart ball after 1s
     startTimer.start()
   }

   // Ends the game
   function end() {
     player2.y = level.height/2
     player1.y = level.height/2
     ball.reset(gameWindowAnchorItem.width/2, parent.height/2)
   }
 ...
Great! The ball gets respawned after a point, but there is no display of the scores. A Heads Up Display - HUD would be the perfect thing for this task.